Casting molds that I have are mostly from Hirst Arts. I also use Happy Seppuku "Your Board Tile Mould" for casting board tiles (in combination with texture stamping). Below are some video instructions from Hirst Arts on using their Casting Molds
Hirst Arts Basic Casting Instructions (Playlist Link - 7 Videos)
Hirst Arts Advanced Casting Instructions (Playlist Link - 3 Videos)
For the first couple of tries of casting, I used Durham's Rock Hard Water Putty. The material itself appears to be very strong, but I don't have experience with any other casting product for direct comparison. I also found out that tacky glue works well with the material (see blog image). I have purchased Densite to try a second material. With Densite, I can buy the material in bulk for a cheaper price than Durham's Rock Hard Water Putty.
Various smooth shapes from Station Builder Mold
My first attempts at casting, I learned that tapping/pounding the molds is very important to get the casting material to fill into every crack and crevice. It also helps remove bubbles that form. In addition, the viscosity of the casting material is important to how strong the casting will be after it dries and the ease of the material to flow into the cracks and crevices of the mold.
The cast is solidifying in this Smooth Floor Tiles Mold
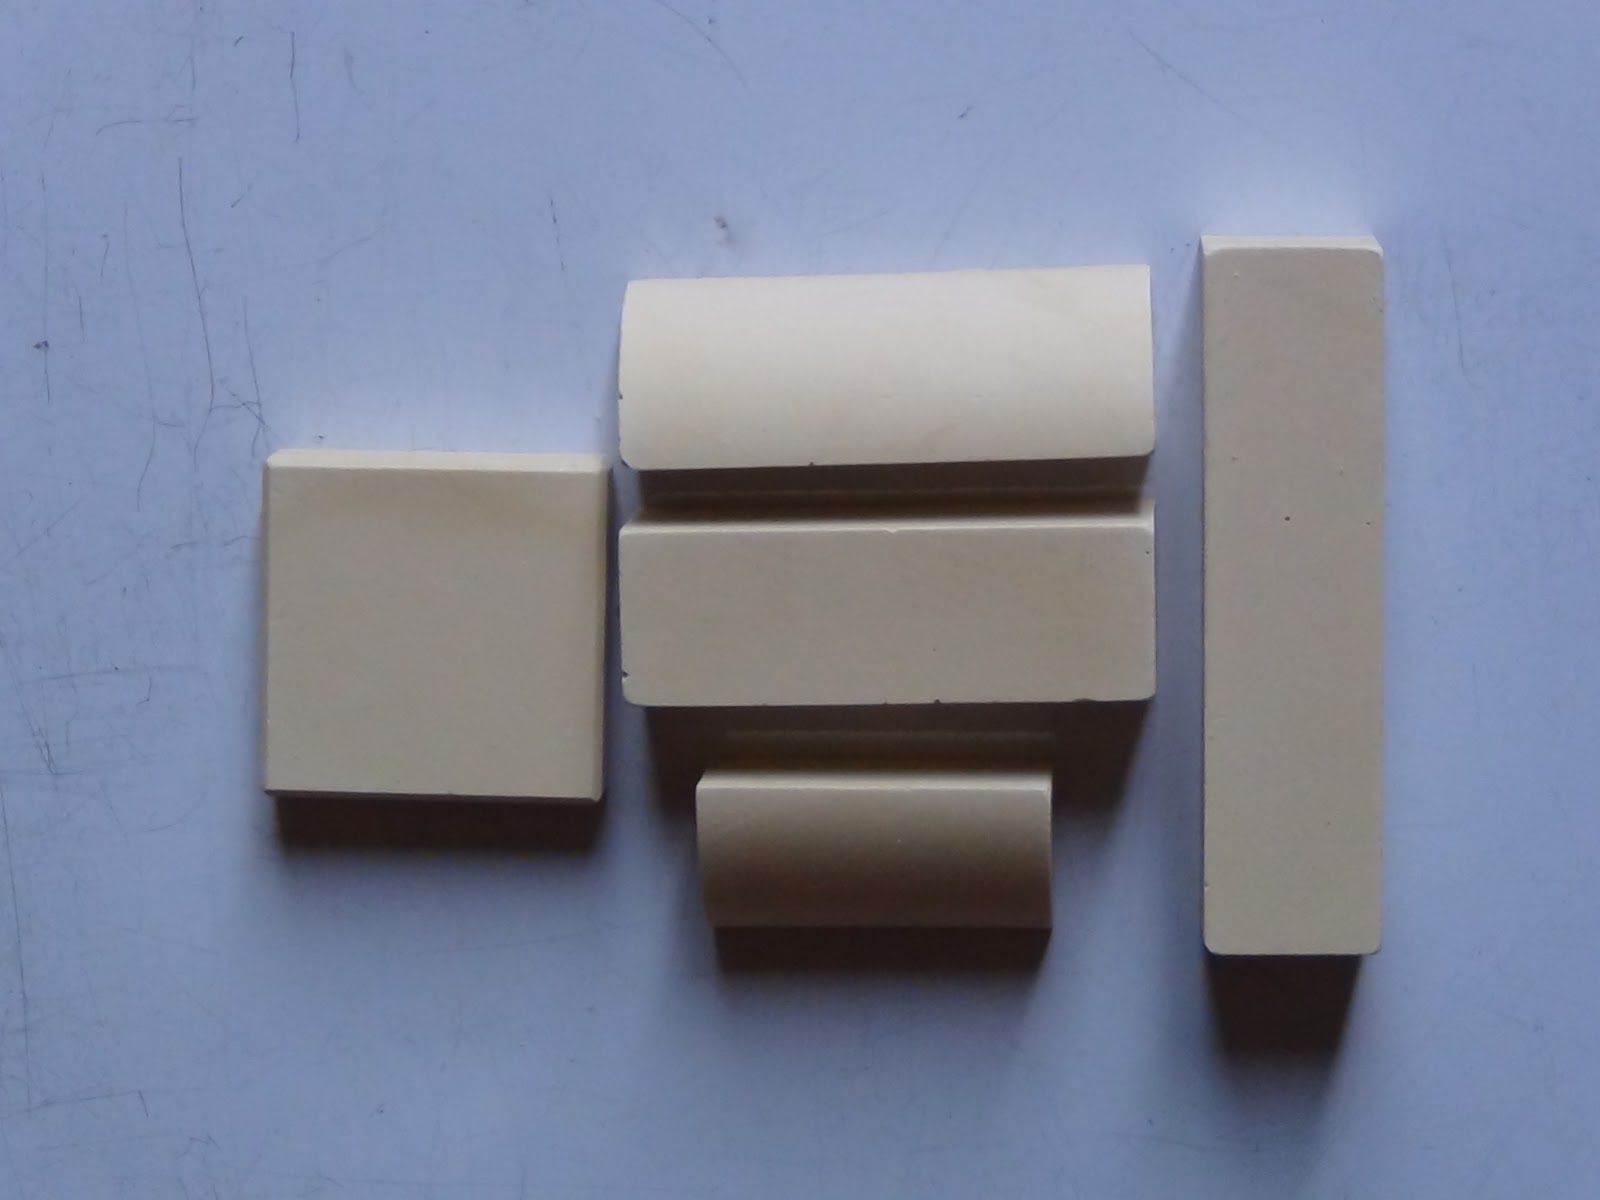
Below are a few samples of simple blocks I cast. The casting range from good to poor.
Image shows the back (top row) and face (bottom row) of hree sample casts. The middle and right casts have casting errors.
With casting molds and texture stamps I have a wealth of tools to create a more aesthetic pleasing game world. I plan to experiment and use texture stamps mostly for miniature bases, while casting molds for more 3D terrain pieces. Game board and tiles I make will be a combination of the casting molds and textures, which I hope to post in the next Log Workshop entry.


No comments:
Post a Comment